How to Position Your Hands for CPR: Adult, Child, and Infant Guide
Cardiac arrest is among the leading cause of death in the United States and worldwide. This life-threatening emergency occurs when the heart loses its ability to pump blood through the body due to an inadequate or absent heartbeat. Sudden cardiac arrest (SCA), the most dramatic occurrence of cardiac arrest, can happen with little to no warning at all.
Therefore, it’s crucial for the general public to have a basic understanding of how to respond during a cardiac arrest emergency — either through formal CPR training or by knowing compression-only CPR (sometimes called hands-only CPR).
In the chaos of an emergency, even trained bystanders can hesitate or question if they have the correct hand placement for chest compressions, especially when providing care to young children or infants.
As we highlight the importance of CPR and AED training during Sudden Cardiac Arrest Awareness Month — as well as year-round — let’s review how to position your hands for CPR.
The Importance of High-Quality Chest Compressions
High-quality cardiopulmonary resuscitation (CPR) is the primary influence on survival from cardiac arrest. It helps keep the brain and other vital organs alive by pushing oxygen-rich blood throughout the body via external compressions and rescue breathing.
High-quality chest compressions are the foundation of high-quality CPR. External compression of the chest increases pressure inside the chest and directly compresses the heart, forcing blood to move from the chest to the lungs, heart, brain, and the rest of the body.
Therefore, regularly reviewing and practicing proper hand placement can significantly improve the quality of chest compressions during an emergency situation.
CPR Hand Placement for Adults
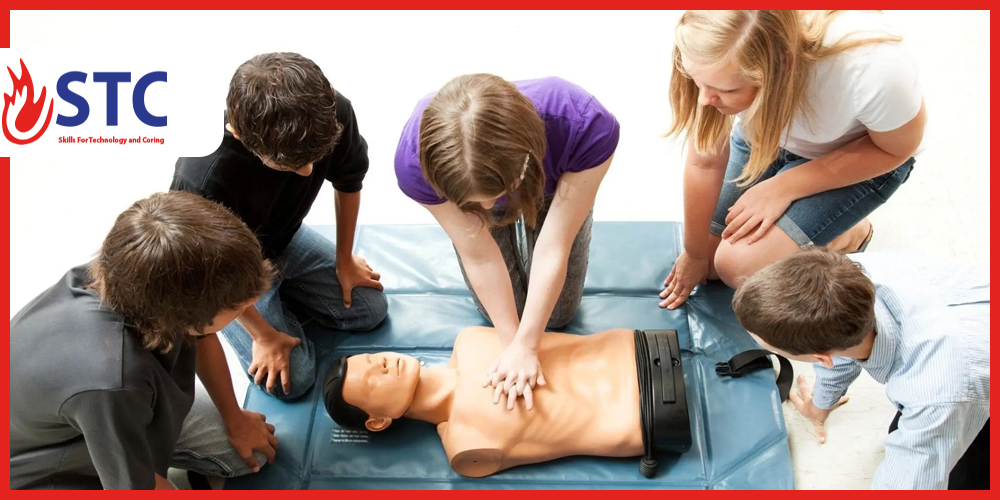
For an adult cardiac arrest victim, follow these chest compression steps to ensure you are positioned correctly:
-
Position yourself at the person’s side, kneeling close to one side of the chest.
- Place the heel of your hand in the center of the chest, on the lower half of the breastbone.
- Place the heel of the other hand directly on top of the first hand.
- Lift or interlock your fingers to keep them off the chest.
- Position your shoulders directly above your hands and straighten your arms to lock your elbows.
- Push hard and deep, straight down, using your upper body weight to compress the chest at least two inches.
- Push fast at a compression rate of 100-120 compressions per minute.
After each compression, allow the chest to fully rise by lifting your weight off the person’s chest. Avoid lifting your hands completely off the chest, but don’t lean on the chest between compressions.
Push hard and fast until you see obvious signs of life or until emergency help arrives and takes over.
CPR Hand Position for Children and Infants
While the overall goal of chest compressions is the same for children and infants, there are a few key differences to note when performing CPR on a child versus an infant.
For children ages one-year to puberty, continue to position your hands in the center of their chest. Use one or two hands for compressions, depending on the size of the child. If you become fatigued during compressions, use both hands to ensure you continue to reach the desired depth of at least two inches.
For children younger than one year, position two fingers in the center of the chest just below the nipple line. Alternatively, you can use a two-thumb encircling-hands technique or use the heel of one hand on the lower half of the breastbone. Aim for a compression depth of about 1.5 inches or 1/3 the depth of the infant’s chest.
Allow complete chest recoil between compressions and minimize interruptions. Aim for a compression rate of 100-120 compressions per minute.
.jpg)

